Paul had mentioned that sometimes the floor crews will trowel a coat of filler across the entire floor, but our crew only did spot filling:
 This was just the first pass around the room perimeter, which gets sanded down first with a small hand-held sander.
This is the goop they use:
 The buffer machine at work:
 The bullnose edging around the top of the stairs was the last thing to get done before the second floor sealer coats could be done. Here the pieces are getting dryfitted:
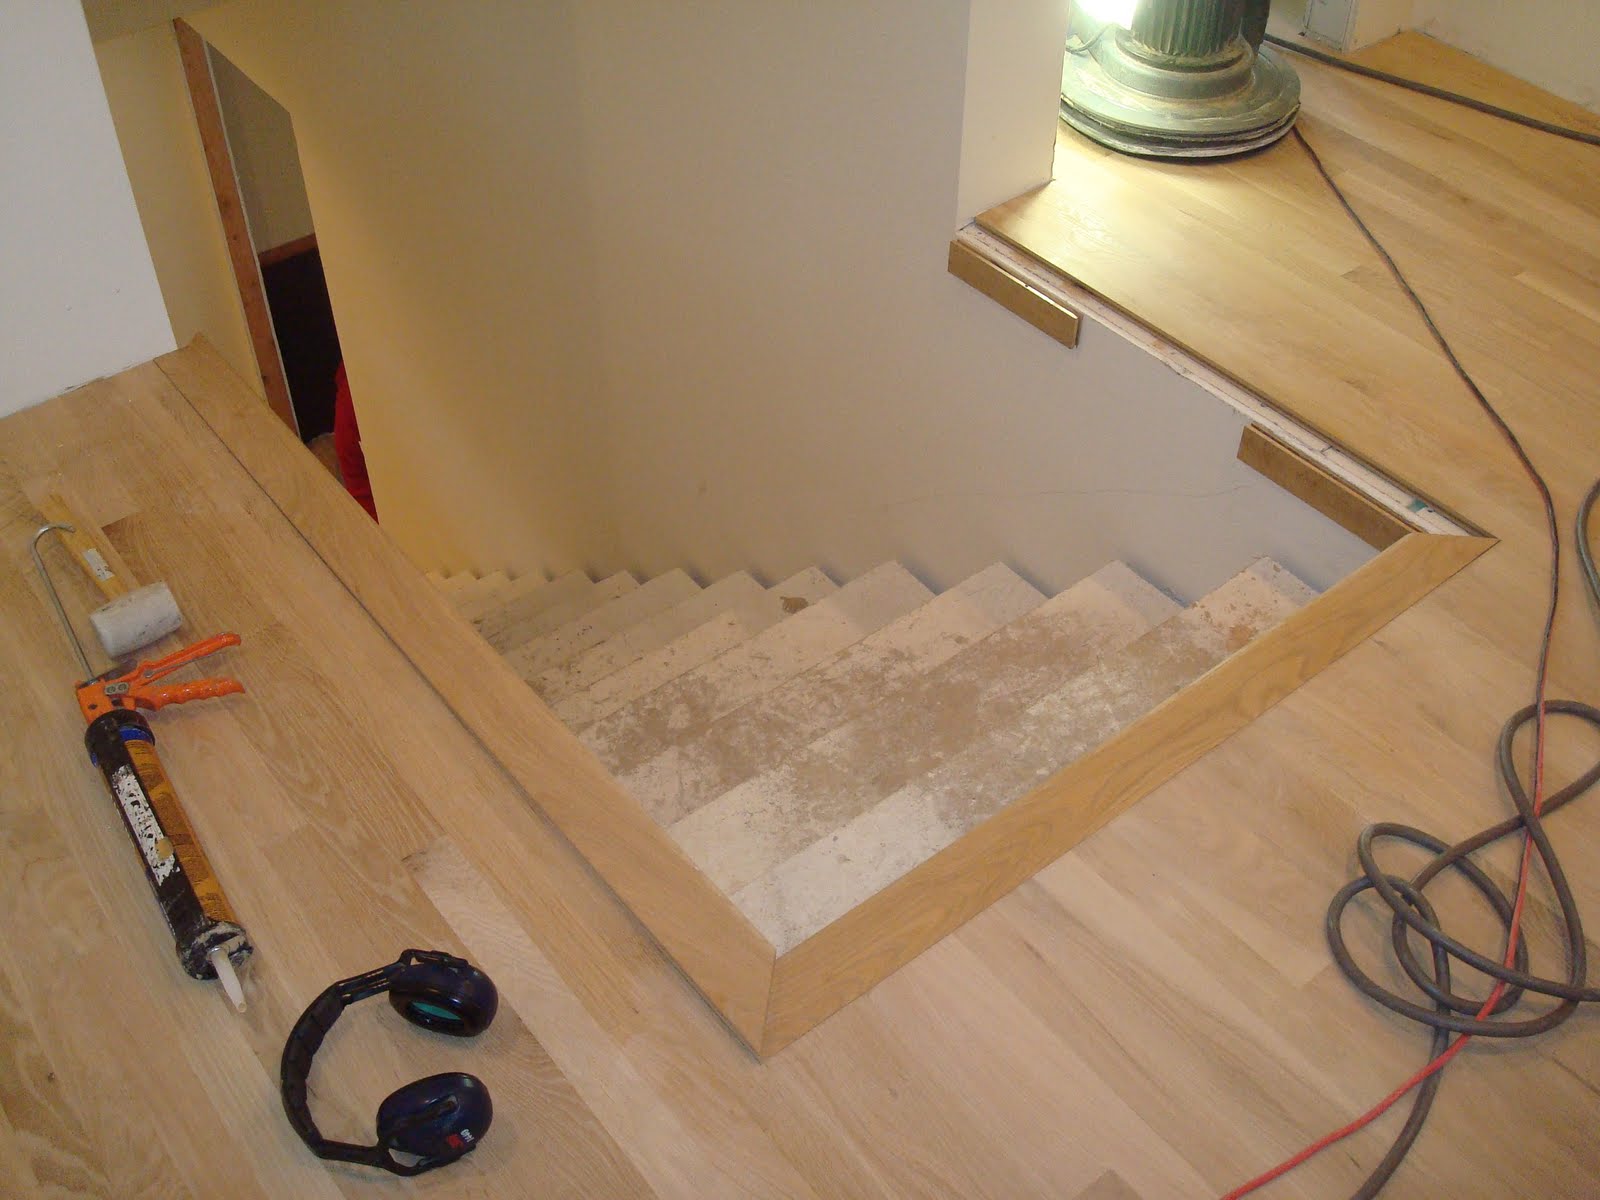 The joints were then rough-sanded, then coated with filler like the rest of the floors. This is Sasha (the owner of the company, Quality Flooring) - sanding down the dried filler...
 ...followed by a buffing job like everywhere else. The edges, nooks, and crannies were hand-sanded.
With that done, things were nearly ready for the first coat of sealer. All that remained was to do a meticulous cleaning job. I watched Sasha and his crew do the cleanup and I could not have done a better job myself: first they did a very careful vacuum job of every square inch of floor, including going around the room perimeters with a nozzle to suck out any dust, followed by a final pickup with a specially made dust-mop. The vacuum got almost everything, but even with the dust mop they frequently stopped to vacuum the bottom of the dust mop itself - wow. I was impressed to see that.
Now it was time for the first coat of sealer, and this was the part I was waiting for. There are several types of floor finishes, but I had always wanted the famed "Swedish" finish. Apparently these days they have the traditional Swedish, along with new water-based formulas. The floor guys said either choice would be durable and attractive, but it was my choice. In the end, I decided to go with the traditional Swedish formula. This stuff has been used forever, like easily 40+ years, and is time-tested. Glitsa is the supplier and they are a local Seattle company.
If you look around on the Glitsa web site, you will see that they have multiple different coating options, which vary essentially by # of coats, types of coats, # of days needed for application, etc. I did my best to research the options and decided that two coats of Glitsa Sealer followed by a coat of Glitsa Gold Seal would work great. Sasha confirmed this as a good option and said it's what he normally uses. :-)
Here's the Glitsa Sealer with its hardener component:
 Finally, the moment of truth! Here the very first sealer coat is getting applied:
 Sasha said that the color above will be very, very close to the final color. It looks great, and makes me happy we didn't spend the money for extra stain.
The brush in the picture above is used for edging and tight spots. A lambs-wool applicator is used for covering the majority of the floor:
 I like this picture as a nice contrast of the raw wood and the coated wood:
 One of the big drawbacks of this stuff is the smell....it is a very strong chemical, and I didn't have a respirator mask. So I only lasted about ten minutes before deciding it was a good time to leave :).
There will be two coats of sealer (with a sand and buff job after each coat), then the floor guys will be done until later, right before the house is almost done. Then they come back to do the final coat and buff it out.